Sublime Text

Tested on macOS Sonoma 14.0
These instructions are specifically tailored for students in CS111, DS223 and other courses that use Python. The steps in this guide will help you install Python and Sublime Text on macOS.
Step 1: Install Python
If you don't have installed Python yet, you can follow these instructions. ⬅If you already have Python installed, you can skip these steps.
Step 2. Install Sublime Text
Follow these steps to install Sublime Text on your macOS system:
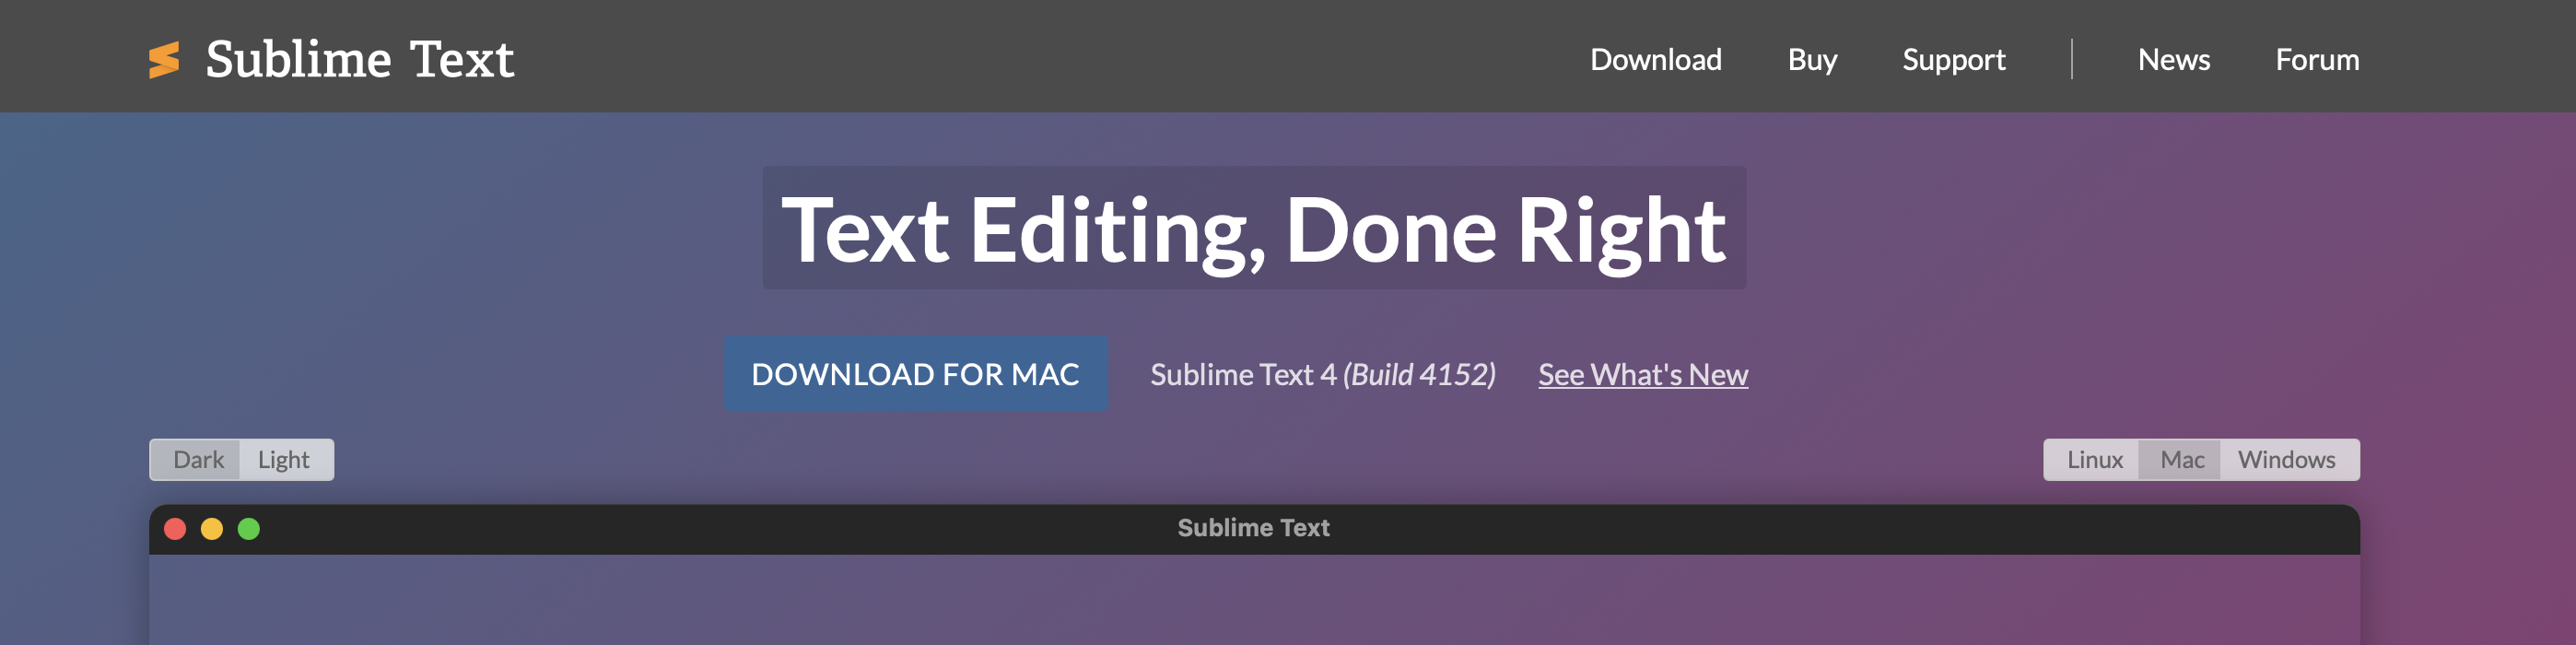
Download Sublime Text
Visit the Sublime Text website (opens in a new tab) and click on the DOWNLOAD FOR MAC button.
Move to Applications Folder
Find the Sublime Text.app file in the Downloads folder and drag it to the Applications folder.
Once the installation is complete, you can launch Sublime Text from your Applications folder , Launchpad or by typing subl in the terminal and start using it for your programming tasks.
Step 3. Add the subl command to the PATH
To use subl, the Sublime Text bin folder needs to be added to the path. For a typical installation of Sublime Text, this will be located at /Applications/Sublime Text.app/Contents/SharedSupport/bin.
Verifying the Current Shell
You can check you currnet shell by run this:
echo $SHELLyou console will look like this:
$ echo $SHELL
> /bin/zsh
If the output is /bin/zsh, you are using the Z shell (zsh). Otherwise, you are using a different shell.
If using Zsh, the default starting with macOS 10.15, the following command will add the bin folder to the PATH environment variable:
echo 'export PATH="/Applications/Sublime Text.app/Contents/SharedSupport/bin:$PATH"' >> ~/.zprofileTo apply the changes immediately, run:
source ~/.zshrcReferences
| Source | Description |
|---|---|
| Sublime Text Documentation (opens in a new tab) | Official documentation for Sublime Text |
| Command line (opens in a new tab) | How to add Sublime Text to the PATH |